Manager Details#
This section provides detailed instructions for managing individual account manager permissions and settings.
Overview#
The Manager Details page allows you to:
Review detailed information about a specific account manager
Modify permission levels and access rights
Set or change access expiration dates
Remove account manager access
Accessing Manager Details#
After selecting an account manager from the main Account Managers page, you’ll be directed to their individual details page.
Understanding the Details Layout#
The Manager Details page displays a table with three columns showing basic manager information:
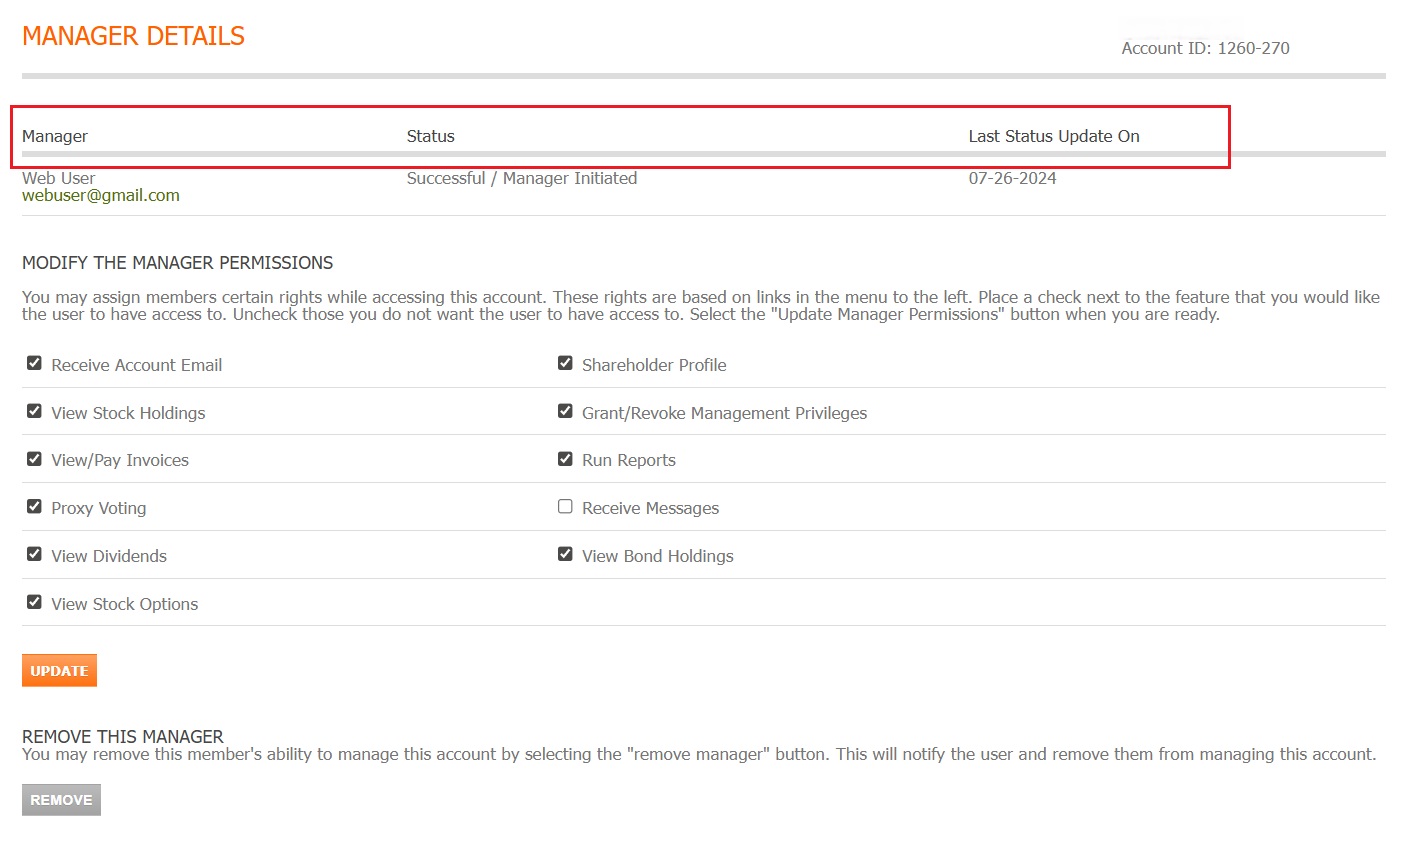
Fig. 39 Manager Details table columns#
Note
The table displays:
Manager - The name of the account manager
Status - The current status of the manager’s access
Last Status Update On - The date when the manager’s status was last changed
Managing Permissions#
The permissions section allows you to control exactly what actions an account manager can perform.
Step 1: Review Current Permissions#
Examine the permission checkboxes to understand the manager’s current access level.
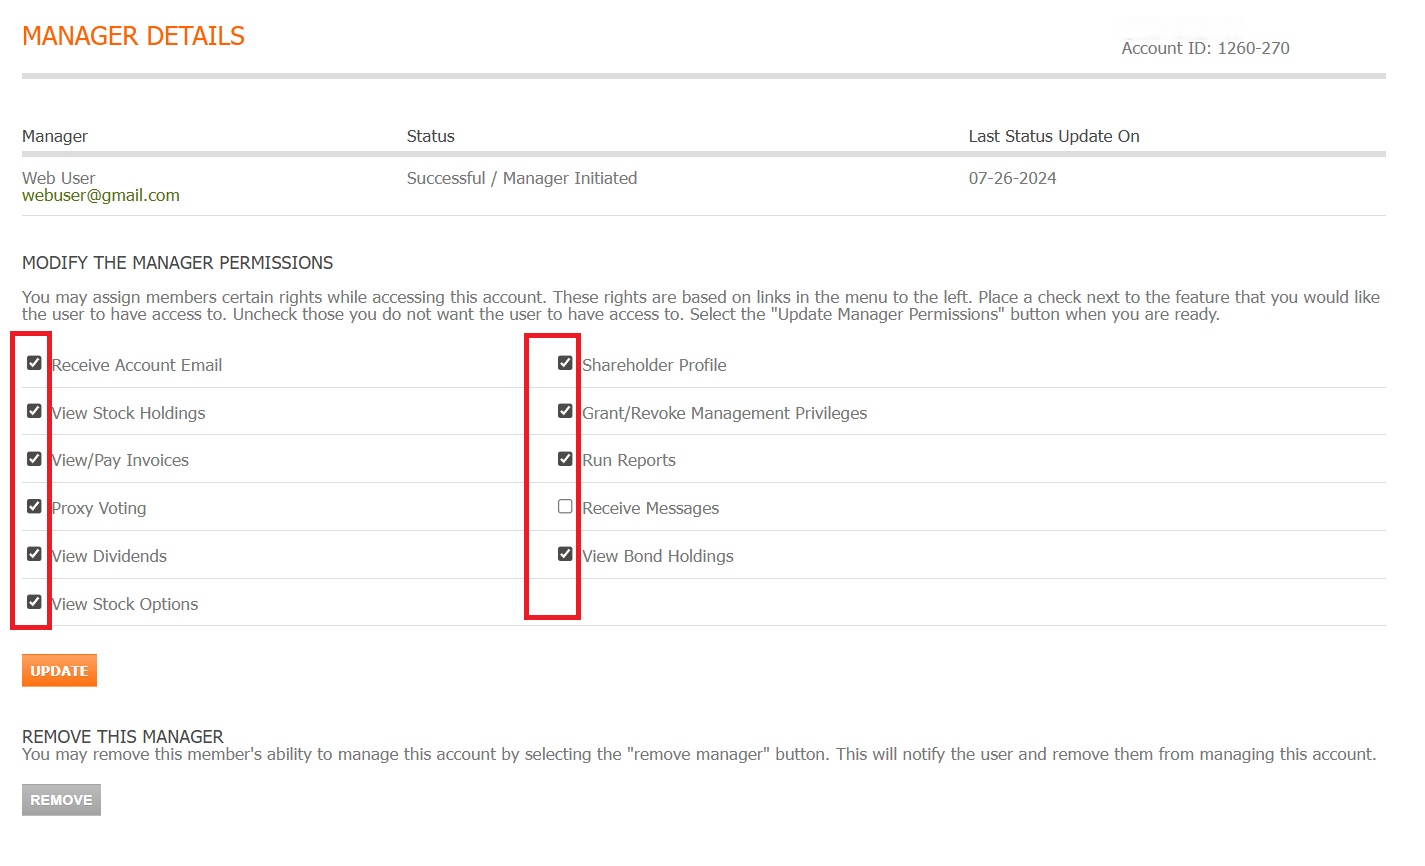
Fig. 40 Permission settings with checkbox locations#
See Also
Permission categories include:
Receive Account Email - Receive email notifications for account activities
View Stock Holdings - See stock certificates and positions
View/Pay Invoices - Access and pay account invoices
Proxy Voting - Submit proxy votes on your behalf
View Dividends - Access dividend information and history
View Stock Options - View stock option grants and exercises
Shareholder Profile - Access and modify shareholder profile information
Grant/Revoke Management Privileges - Manage other account managers
Run Reports - Generate and download account reports
Receive Messages - Receive account-related messages and notifications
View Bond Holdings - See bond certificates and positions
Step 2: Modify Permissions#
To change permissions:
Check or uncheck the appropriate permission boxes
Review the changes carefully
Consider the security implications
Proceed to save the updates
Warning
Permission changes take effect immediately. Ensure you understand the implications of each permission before granting or revoking access.
Step 3: Save Permission Changes#
After adjusting permissions, click the Update button to save your changes.
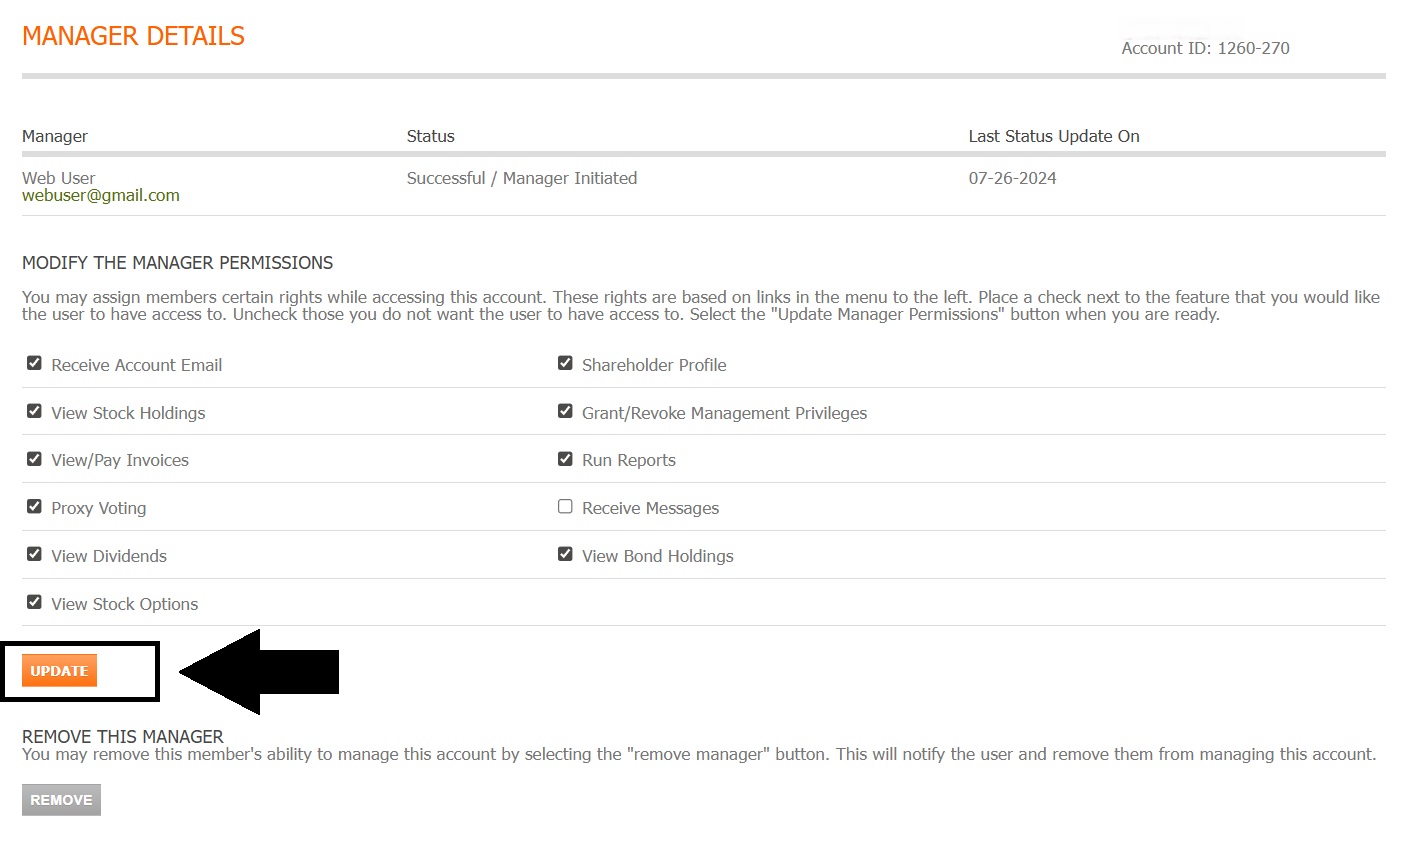
Fig. 41 Update button location for saving permission changes#
Contacting Account Managers#
You can initiate email communication directly from the Manager Details page.
Step 4: Send Email to Manager#
Click on the manager’s email address or name to begin composing an email.
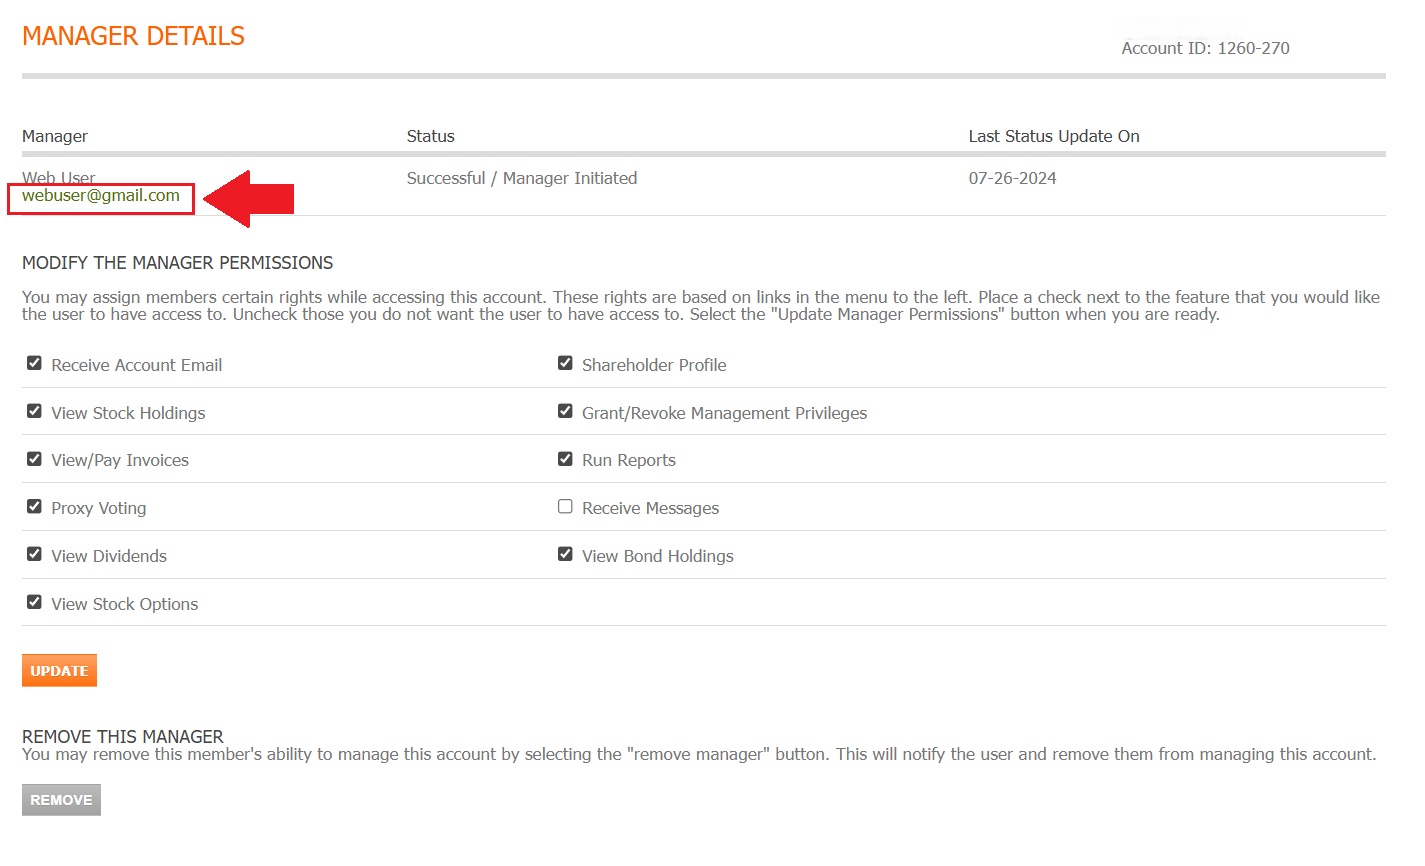
Fig. 42 Click email or name to contact the account manager#
Note
Clicking the email link will:
Open your default email client
Pre-populate the recipient address
Allow you to compose a message
Removing Account Managers#
When an account manager no longer requires access, you can remove them from your account.
Step 5: Remove Manager Access#
Locate and click the Remove button to revoke all access for this manager.
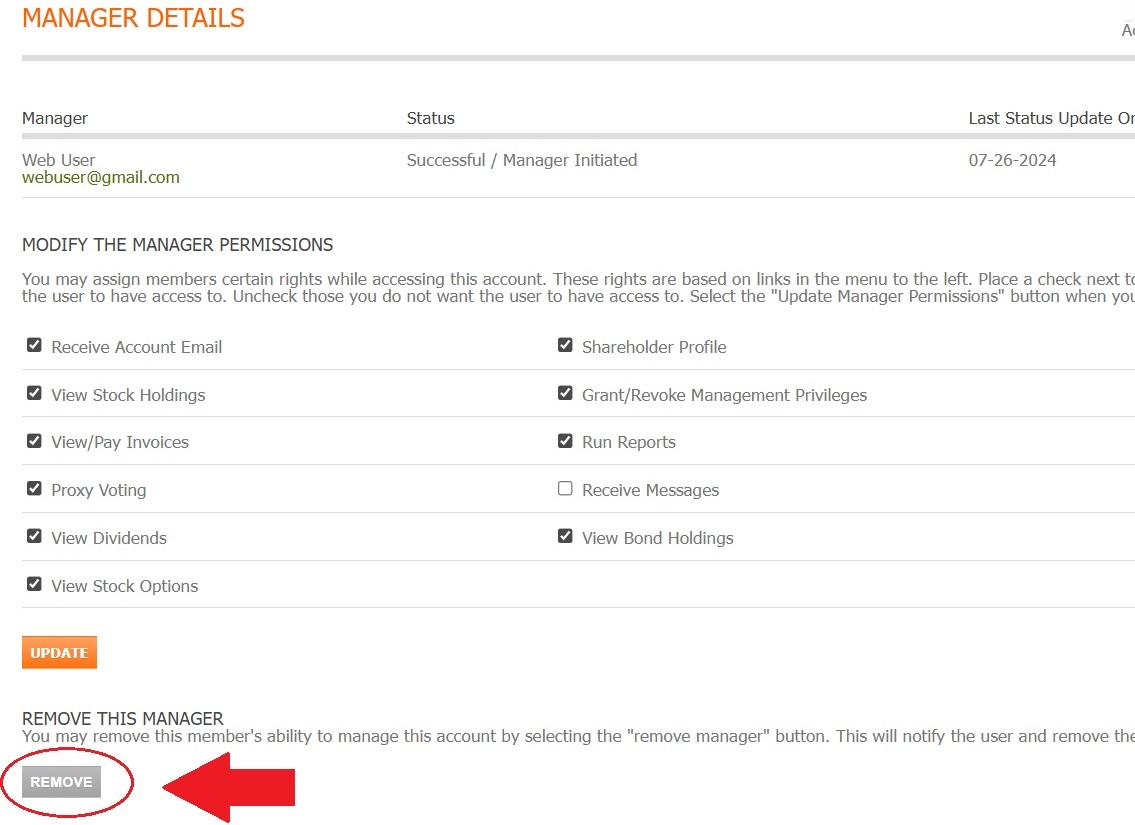
Fig. 43 Remove button location for revoking manager access#
Warning
Before Removing a Manager:
Verify they no longer need access
Understand that removal is immediate and irreversible
The manager will receive an email notification of removal
Important
Removed managers cannot access your account immediately upon removal. To restore access, you must add them as a new manager again.