Account Managers#
This section guides you through managing account access and permissions for additional users in the TOL Login System.
Overview#
The Account Managers feature allows primary account holders to:
Grant access to trusted individuals
Set specific permission levels for each manager
Monitor account manager activities
Revoke access when needed
Maintain security while delegating account tasks
Control what information managers can view or modify
Accessing Account Managers#
To manage account access permissions, navigate to the Account Managers section from the main navigation menu.
Step 1: Locate Account Managers in Navigation#
Find and click the Account Managers option in the left navigation menu.
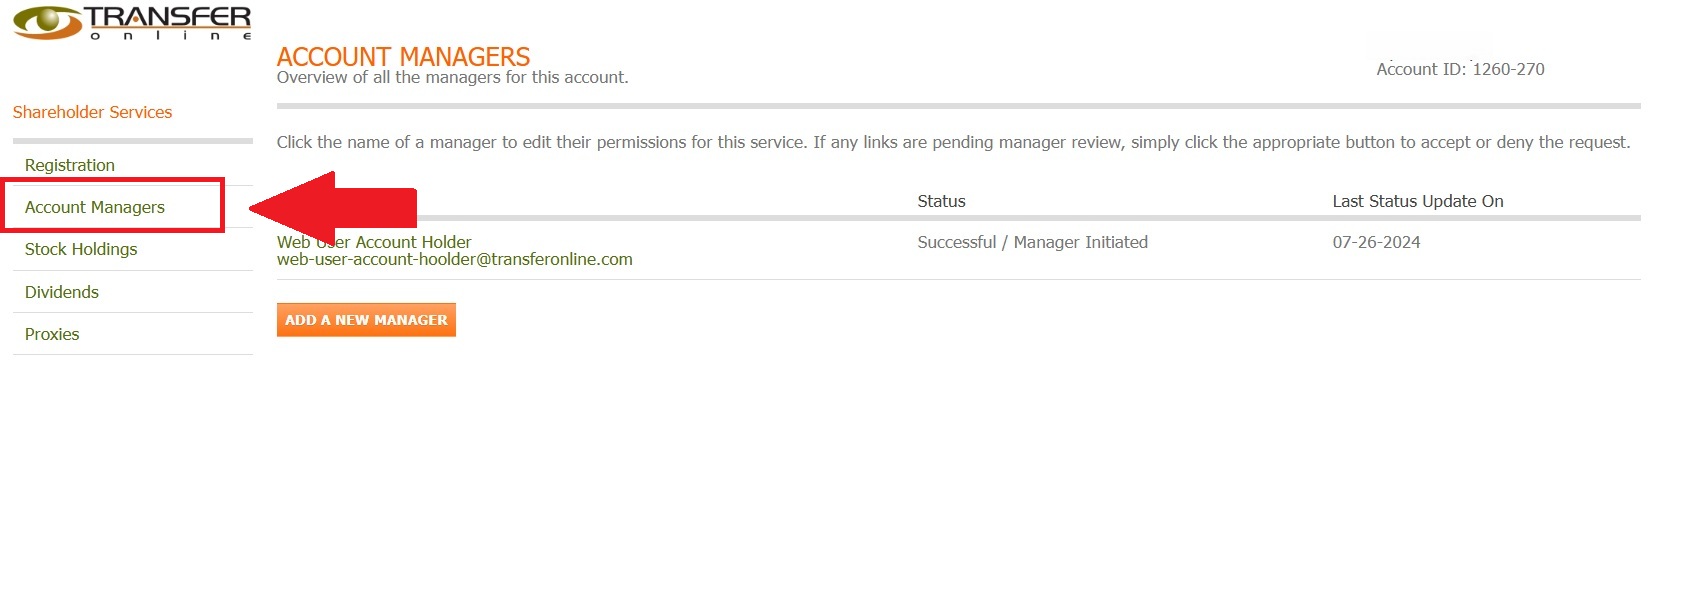
Fig. 34 Account Managers location in the navigation menu#
Action Complete
You have successfully navigated to the Account Managers section.
Account Managers Dashboard#
The main Account Managers page displays all users who have been granted access to your account.
Step 2: Review Current Account Managers#
Upon entering the Account Managers section, you’ll see a list of all active account managers and their permission levels.
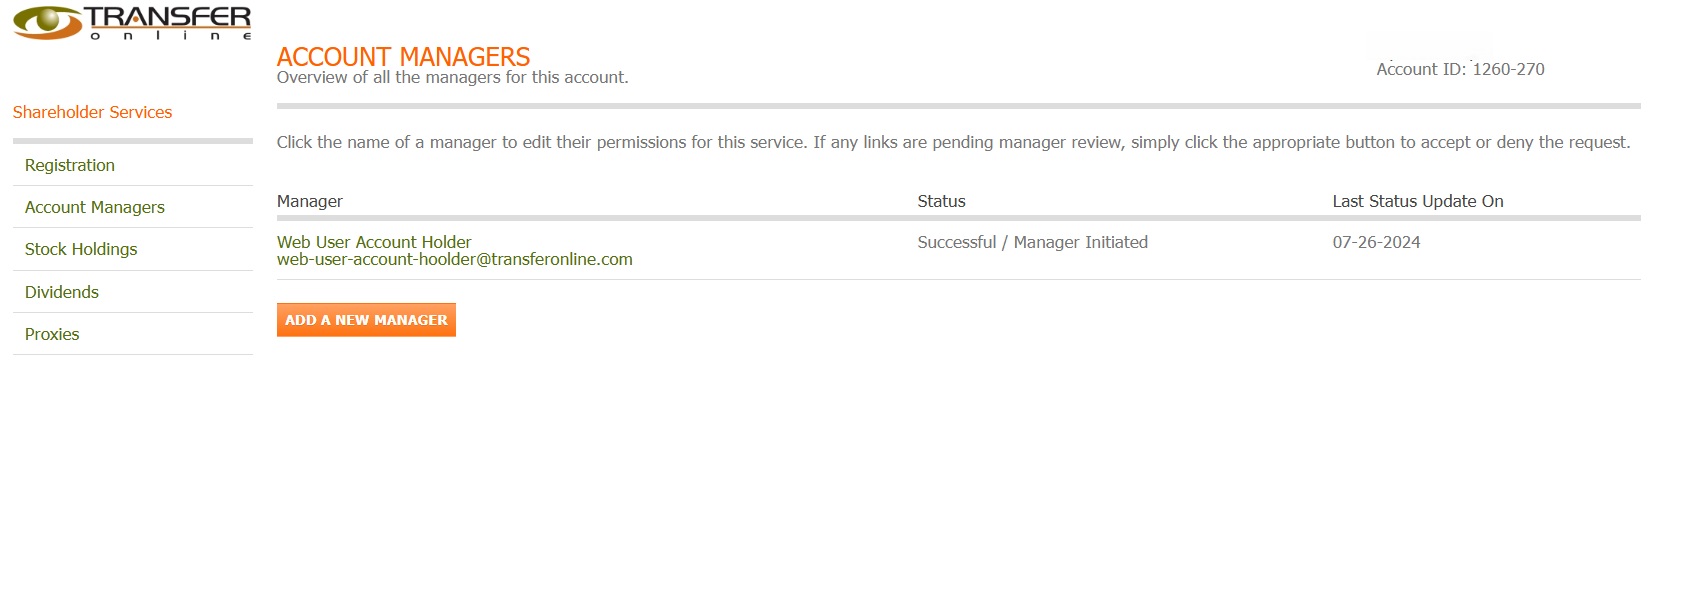
Fig. 35 Account Managers main dashboard#
Dashboard Information
The dashboard displays all users with delegated access to your account. Each entry shows the manager’s information, current status, and when their status was last updated.
Step 3: Understanding the Account Managers Table#
The account manager information is organized in a comprehensive table format.

Fig. 36 Account Managers table column structure#
Table Columns#
The account managers table includes the following key information:
Manager - Name and email of the authorized user
Status - Current access status (Active, Pending, or Inactive)
Last Status Update On - When the manager’s status was last changed
Adding New Account Managers#
You can grant access to new users who need to help manage your shareholder account.
Step 4: Initiate New Manager Addition#
Click the “Add New Manager” button to begin the process of granting account access.
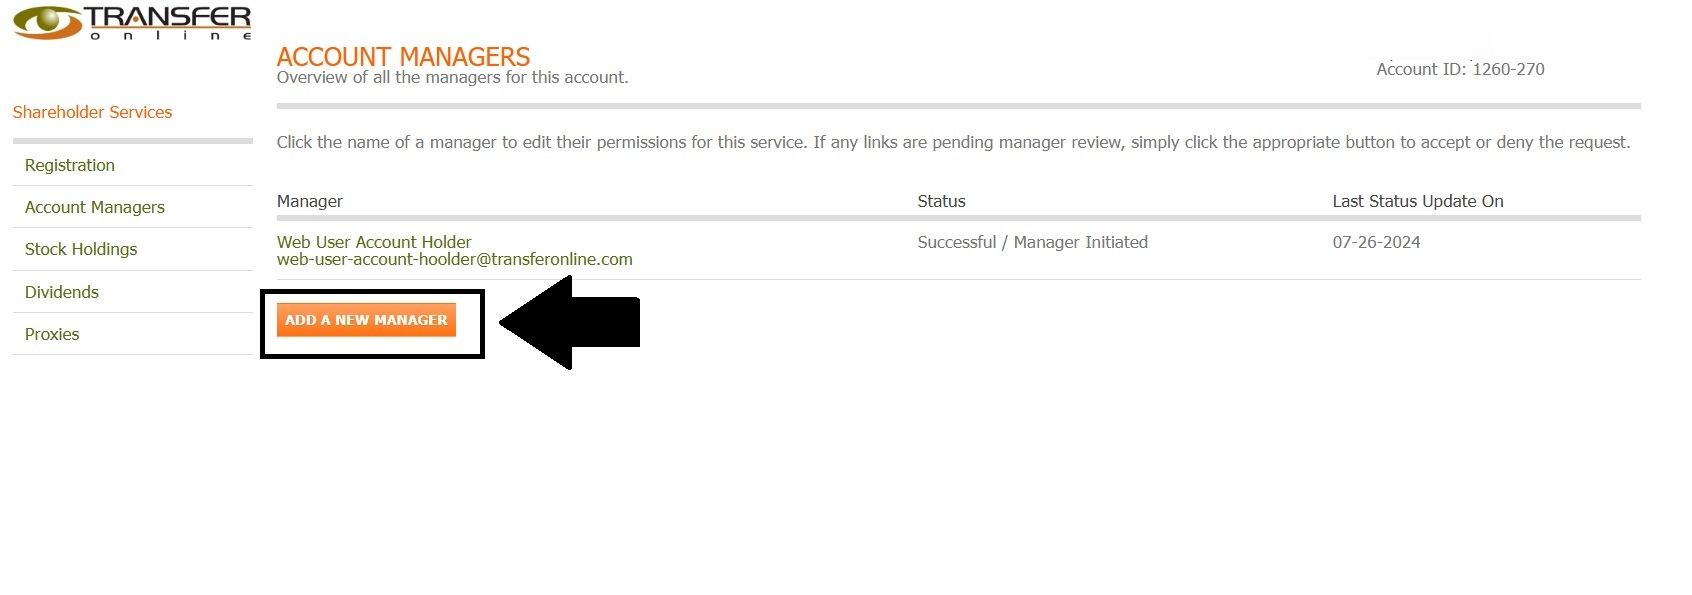
Fig. 37 Add New Manager button location#
Before You Begin
Before adding a new account manager:
Verify the person’s identity and trustworthiness
Determine the appropriate permission level
Have their correct email address ready
Consider the security implications of shared access
New Manager Setup Process#
When adding a new account manager, you’ll need to:
Enter Manager Information
Full legal name
Valid email address
Phone number (optional)
Relationship to account holder
Managing Existing Account Managers#
For each account manager in your list, you can perform various management actions.
Step 5: Select a Manager to Manage#
Click on an account manager’s email address to access their detailed settings.
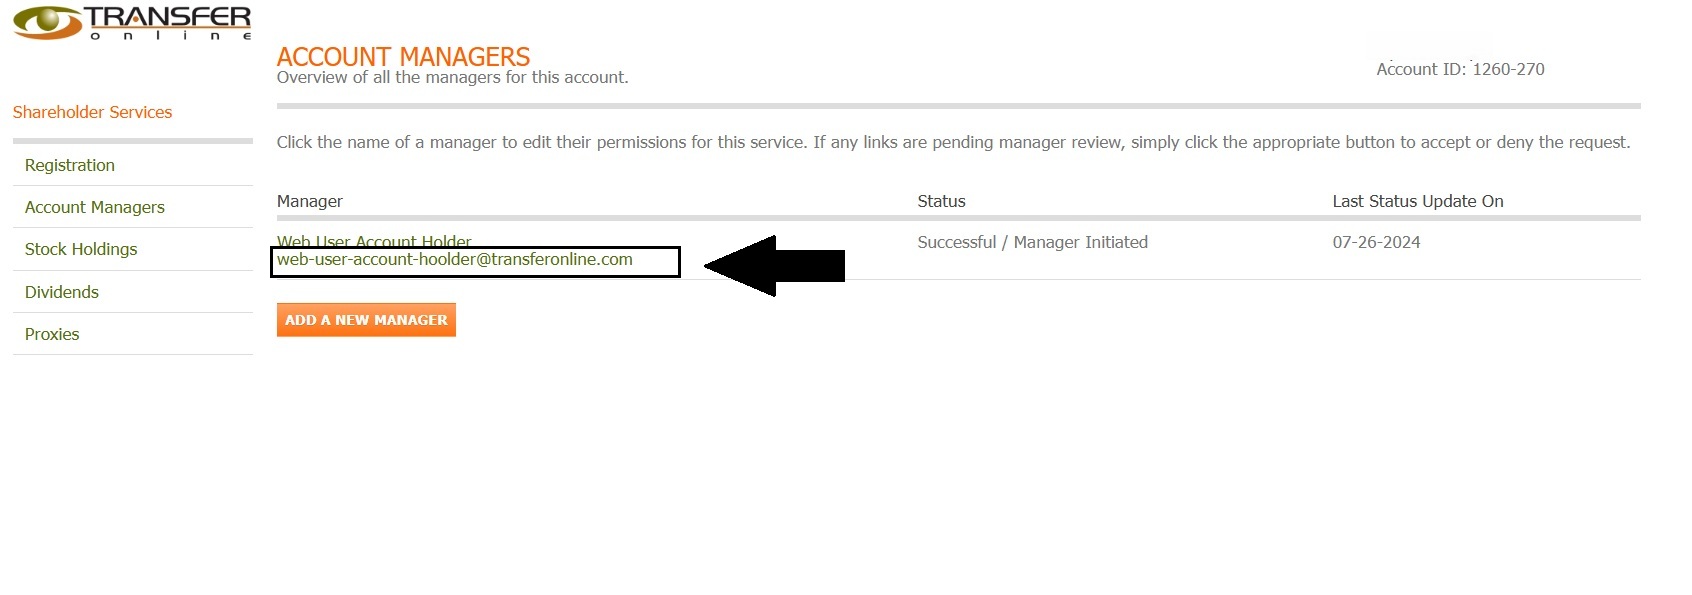
Fig. 38 Selecting a manager by email address#
Manager Details
Clicking the email address opens the detailed manager settings page where you can modify permissions, view activity logs, and manage access levels.
Available Actions#
From the Account Managers section, you can:
Security Best Practices#
When using account managers:
Only grant access to trusted individuals
Use the minimum permission level necessary
Regularly review and update access lists
Remove access immediately when no longer needed
Keep primary account credentials private
Next Steps#
Explore the following section to learn more about managing individual account manager settings: